This is the second part of a multi part article on how to build and setup your Harbour/Qt/QtContribs development tools on your workstation.
First test
The first test to have a Harbour program running on Android is built using gtqtc (a GT based on Qt). We need to create one project in Harbour and one project in Qt Creator. In Harbour we will compile our test program as a library (not an executable). In Qt Creator we will modify the default project to include all standard Harbour libs and our program, and calling the Harbour vm from the main c++ function.
Setting up the dirs
Create the directory c:\android\tests to store all the tests. Let’s start creating one subdir test01 and 2 subdirs: test01/harbour and test01/qt where we will store the two parts of the project.
The Harbour program
in tests\test01\harbour dir create app01.prg file:
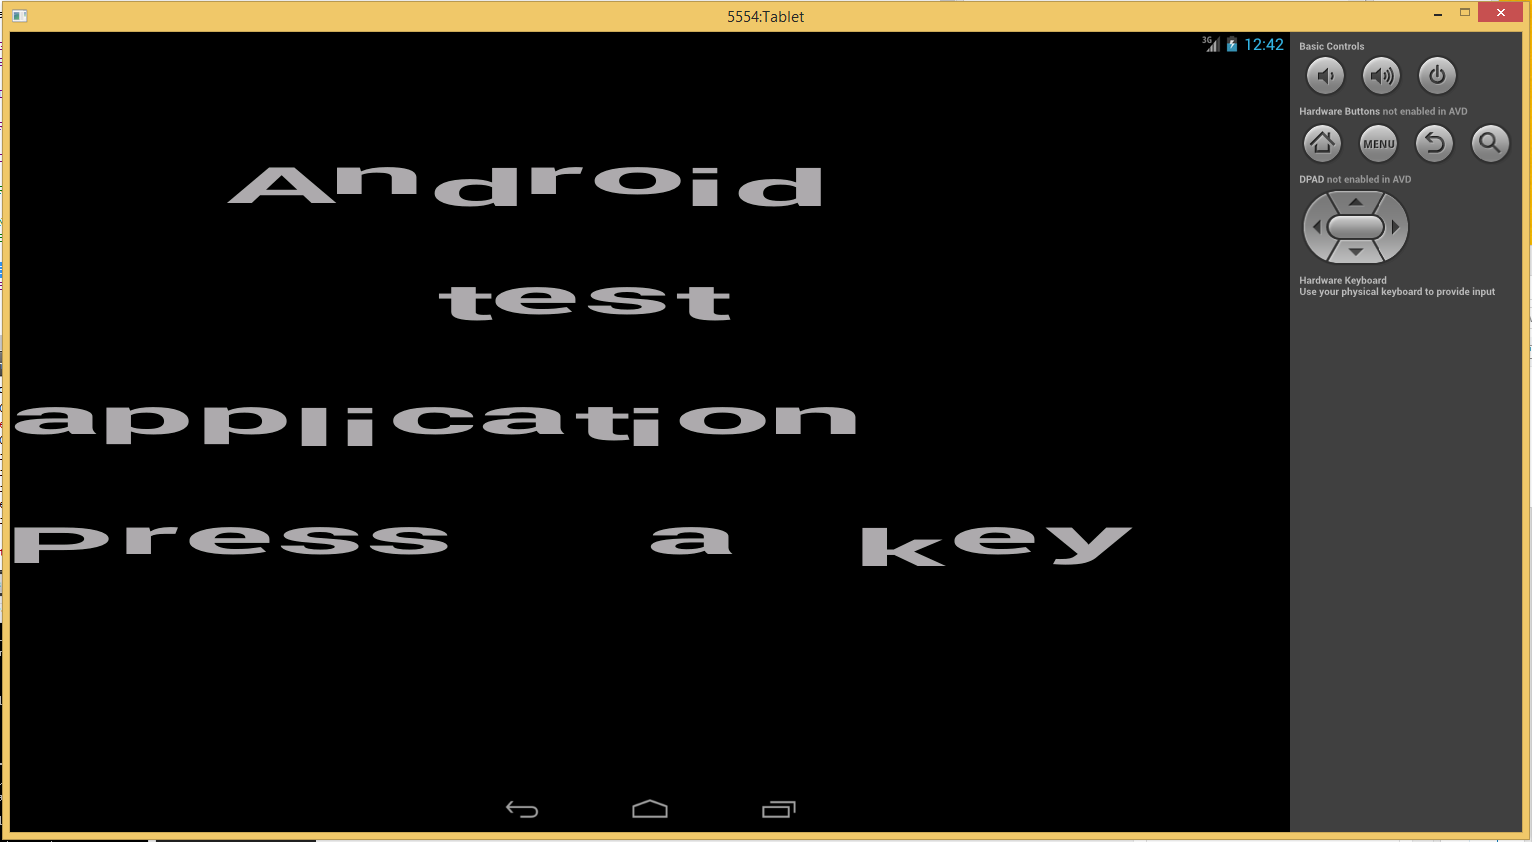
PROCEDURE main

   setmode( 12, 12 )

   clear screen

   ? padc( "Android", 12 )
   ? padc( "test",12)
   ? padc( "application",12 )
   wait "Press a key"
and app01.hbp file:
-hblib
-gtqtc
gtqtc.hbc
app01.prg
to compile as a library
to link GT QTC
to set defines, variables…
the name of the app to compile
Compile the harbour program with:
hbmk2a app01.hbp
PLEASE NOTE: I’m using hbmk2A (note the A). It is the batch file we copied in part 1.
Check that file libapp01.a is created.
The Qt program
Open Qt Creator of the Qt version you are using with Harbour. Ctrl-n, select Qt Widgets application and press button “Choose…”, use test01 as Name and set the dir C:\android\tests\test01\qt, click Next.
In kits panel, activate “Android for armeabi-v7a” and deselect “Desktop Qt 5.2.1 MinGW 32bit“. Complete the setup clicking on Next, Next, Finish.
Now we have to make some changes to the project.
Delete mainwindow.cpp file (rightclick and Remove file). Delete file mainwindow.ui (under Forms) and mainwindow.h (under Headers).
Edit main.cpp file:
#include "hbapi.h"
#include "hbapigt.h"
#include "hbvm.h"
#include "hbgtcore.h"

HB_GT_REQUEST( QTC )
HB_FUNC_TRANSLATE( request_MAIN, MAIN )

int main(int argc, char *argv[])
{
   hb_cmdargInit( argc, argv );
   hb_gtSetDefault( "GTQTC" );
   hb_vmInit( HB_TRUE );
   return hb_vmQuit();
}
Then edit test01.pro file (PLEASE, pay attention to the long line of LIBS !)
QT       += core gui

greaterThan(QT_MAJOR_VERSION, 4): QT += widgets

TARGET = T02
TEMPLATE = app

INCLUDEPATH += C:\android\harbour\include

SOURCES += main.cpp

HEADERS  +=

#FORMS    += -

#CONFIG += mobility
#MOBILITY =

LIBS += -LC:\android\r9d\sources\cxx-stl\gnu-libstdc++\4.8\libs\armeabi-v7a
LIBS += -LC:\android\harbour\lib\android\gccarm -Lc:\android\tests\test01\harbour \
        -lapp01 \
        -Wl,--start-group -lhbrdd -lgttrm -lhbrtl -lhbcommon -lrddntx -lrddfpt -lrddnsx -lhbsix -lhbgt -lhbmacro -lhbvm -lhbvmmt -lhbformat -lgtqtc -Wl,--end-group
In LIBS we specify:
search lib gnustl_shared that is needed by ndk r9d
search libs inside this dir that is the Harbour for android version of harbour
search libs inside this dir that is the dir of our app
link our app as a library
standard Harbour libs
add gtqtc lib, the GT system based on Qt
IMPORTANT: if we change the .pro file, select menu Build->Run qmake otherwise some changes are not recognized.
It also happened to me that the first build stopped with an error. Second build recognized the previous error and did an automatic project reset.
Run the app
Save all files (File->Save all) then in the left column menu there will be a botton with “test01″ and “Debug”. Clicking on it you may change kit…you have disabled the Windows kit but it is always better to check that the selected kit is Android and Build type Debug. Select Android/debug. Then click on the green “play” button.
A form with a list of Compatible devices appears. Choose the one you want to test.